
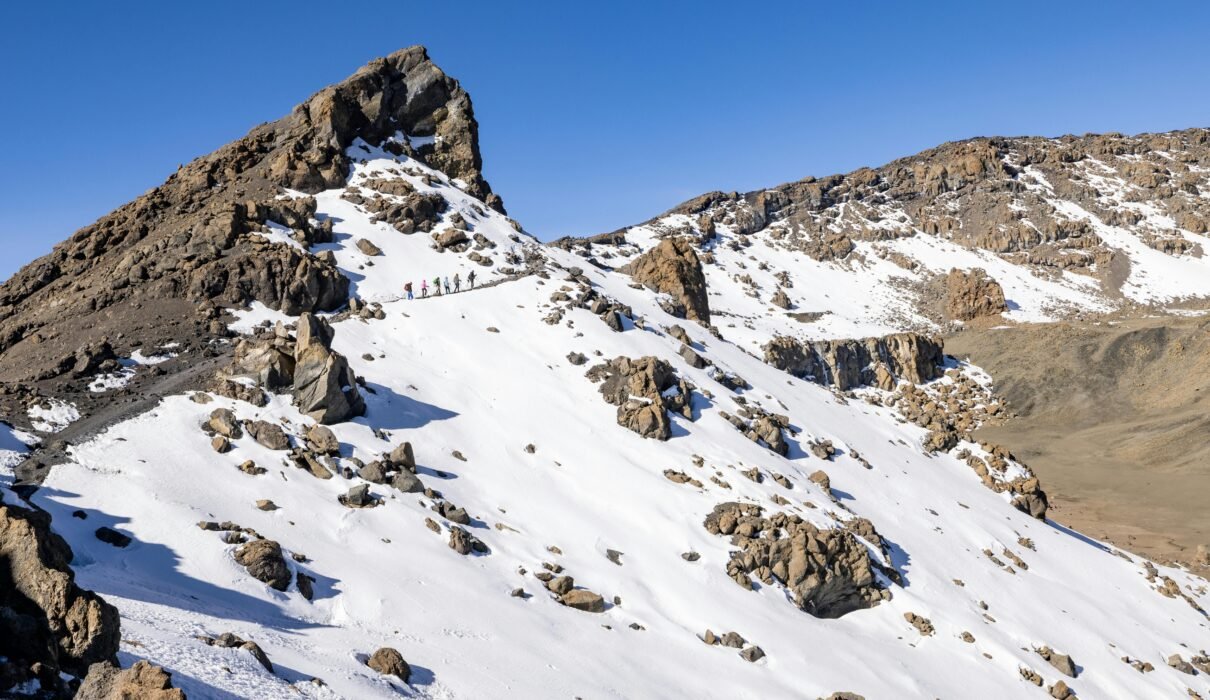
Photograph Kilimanjaro’s glaciers offer a striking contrast: pale ice above dark volcanic terrain, with light changing across the mountain. For photographers, the interest lies in texture, scale and the relationship between the ice and its surroundings.
Making photographs here requires more than choosing a camera setting. You may be cold, tired and working with limited time during a guided summit attempt. Equipment that felt simple to use at home can become awkward with gloves, wind and unfamiliar terrain.
The best preparation is to make photography fit the climb. Discuss your interests beforehand, carry a manageable kit and practise the controls you will need. A photograph should never depend on leaving an authorised route or delaying a necessary descent.
This guide from Eddy Tours & Safaris explains how to photograph Kilimanjaro’s glaciers through nine practical tips, with advice on exposure, composition and protecting equipment.
Understand What You Are Planning to Photograph
Kilimanjaro’s remaining glaciers are changing. UNESCO’s 2022 World Heritage glacier assessment projected the disappearance of glaciers in African World Heritage sites, including Kilimanjaro, by 2050. That is a scientific projection, not an exact date for a particular ice formation. Read the UNESCO glacier assessment announcement for context.
Older photographs may therefore show a different extent or shape of ice from what you encounter.
Fresh snow can also change the appearance of the landscape. A snow-covered scene is not, by itself, evidence that a glacier has expanded.
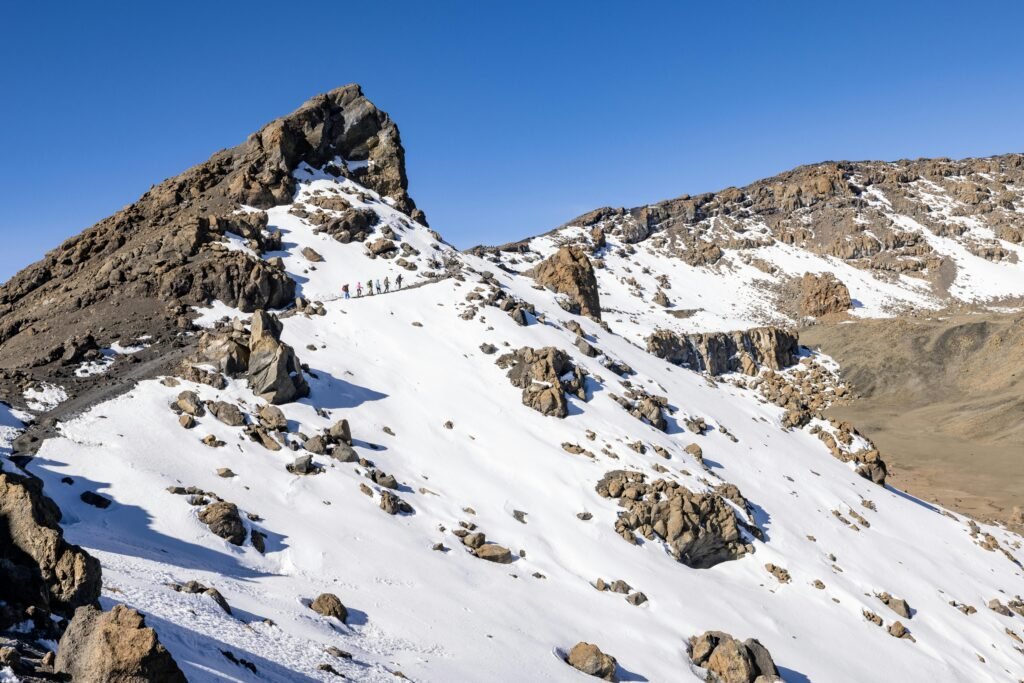
Ask about likely views from your proposed itinerary. A standard summit climb should not be assumed to include close glacier access, a crater excursion or extended photography stops.
1. Plan Photography Around the Guided Itinerary
Tell your operator what you hope to photograph before booking.
Explain whether you want a few glacier images during a normal climb or a more deliberate photography expedition. Those are different planning requirements.
Ask where suitable views may be available, how stops are managed and what happens if weather or health changes the schedule. A guide can help you understand practical possibilities without promising a particular scene.
If you are interested in specialist access or commercial filming, raise that separately. It may require different arrangements and permissions.
Practical tip: Prepare a short priority list rather than a rigid shot list. For example: one wide glacier landscape, one texture image and one photograph showing scale.
This makes it easier to use a brief opportunity well. Accept that some photographs may not be possible on your climb.
2. Choose Equipment You Can Carry and Use Comfortably
A large camera bag can become an unnecessary burden.
Choose equipment according to the photographs you want, then consider whether each item justifies its weight. A familiar camera and versatile lens may be more useful than several lenses you rarely use.
A wide-angle lens can include the glacier within its volcanic surroundings. A standard or moderate telephoto lens can isolate shapes and details from a permitted viewing position.
Avoid choosing a lens on the assumption that you can walk closer to the ice. Your position must follow the guide’s instructions and access arrangements.
Try the complete kit during training walks. Check whether the bag interferes with your daypack, clothing or trekking poles.
Practical tip: Practise taking the camera out, making a photograph and packing it away while wearing gloves. If the process is awkward at home, simplify it before departure.
A phone can also make useful landscape photographs. Professional equipment is not a requirement for recording the experience.
3. Manage Batteries Before Cold Reduces Their Performance
Cold can reduce usable battery performance, so power management deserves attention.
Nikon recommends carrying spare batteries and keeping a spare inside your coat to help maintain warmth. Its memory-card and battery guidance provides useful preparation advice.
Start with charged batteries, and confirm whether charging will be available during the expedition. Do not assume every camp can recharge a camera or power bank.
Protect spare battery terminals with appropriate covers or cases. Keep them accessible without placing them somewhere vulnerable to moisture or accidental loss.
Review your camera’s power settings before travelling. Long image-review sessions and unnecessary wireless connections can consume power you may want later.
Practical tip: Carry spares in an organised pocket and learn how to change a battery without removing every item from your bag.
Follow the manufacturer’s temperature guidance, including for charging. Warming a cold battery does not mean placing it against direct heat.
4. Expose for Bright Ice Without Losing Detail
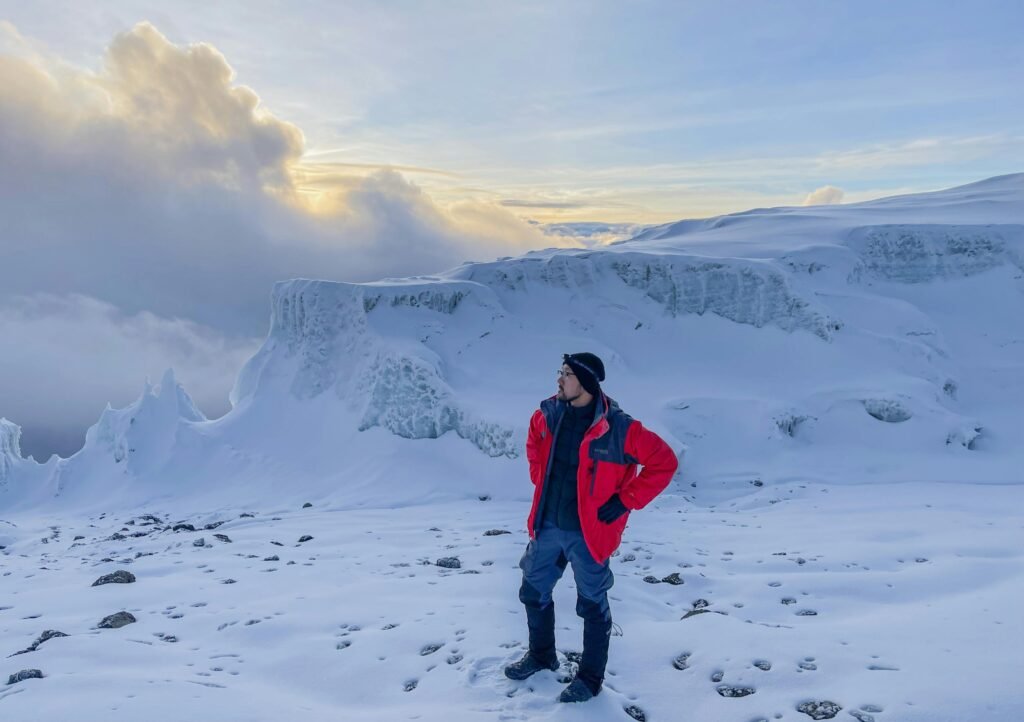
Bright snow and ice can mislead a camera’s automatic exposure. A scene may look dull or grey when the camera reduces exposure to account for its brightness.
Nikon’s cold-weather photography guidance recommends exposure compensation when snow is rendered too dark.
However, do not apply a fixed correction to every photograph. A frame filled with bright ice behaves differently from one containing mostly dark rock.
Check the histogram and highlight warnings, where available. Preserve important texture in the ice rather than making every bright area completely white.
RAW capture can give you more flexibility when adjusting exposure and white balance afterwards. It cannot reliably recover detail that was never recorded because of severe overexposure.
Practical tip: Make a test image, check important highlights and adjust. If the scene is static and time allows, take a small exposure bracket as an alternative.
5. Prioritise a Sharp Image Over the Lowest ISO
Cold hands, wind and fatigue can make camera handling less steady.
For handheld photography, use a shutter speed that suits your lens, stability and subject. Image stabilisation can help with camera movement, but it does not freeze a person moving through the frame.
Avoid keeping ISO low at the expense of obvious blur. A slightly noisier sharp image is often more useful than a clean but soft one.
For a broad landscape, an aperture around f/5.6–f/8 can be a starting point on many interchangeable-lens cameras. The right choice depends on sensor size, focal length and the distance between foreground and background.
These are starting settings, not a formula for every scene.
Practical tip: Learn to set a minimum shutter speed or use a suitable manual-exposure workflow before travelling. Practise with gloves so changing conditions do not require searching through menus.
A tripod is optional. Confirm whether carrying and using one fits your itinerary and stopping locations.
6. Use Light to Reveal Texture
Ice becomes more interesting when the photograph shows shape rather than only brightness.
Side lighting can emphasise ridges, shadows and surface texture. Softer light may reduce contrast and suit a quieter landscape image.
Look at the scene before deciding which lens to use. A distant formation with strong light across it may offer a better photograph than a nearer subject with little separation.
Do not assume a standard climb guarantees a particular glacier view at sunrise. Route, timing, weather and your progress determine the opportunities.
If the light is less dramatic than expected, change your approach. Concentrate on patterns, contrast with volcanic ground or the relationship between the glacier and the wider mountain.
Practical tip: Make photographs with the light available. Do not prolong a high-altitude stop simply to wait for a preferred colour or shadow.
7. Show Scale Without Staging an Unsafe Scene
A close crop can reveal detail while making it difficult to understand the glacier’s size.
Wider compositions help show the relationship between ice, rock and the mountain. A person already standing in an appropriate location can also provide scale, with their permission.
Do not ask someone to approach an ice edge or leave the agreed route for a photograph. A staged image is not worth changing a safe position.
Try three compositions when time allows:
- A wide view showing the landscape.
- A medium frame emphasising the glacier’s shape.
- A tighter photograph of visible texture.
This gives you variety without needing to move extensively.
Practical tip: Leave visual space around the ice and check the edges of the frame. Small adjustments can remove distracting equipment or cut-off figures.
A clear composition often tells the story more effectively than an extreme perspective.
8. Protect the Camera From Moisture, Dust and Temperature Changes
Use a protective bag or cover when the camera is not in use. Weather sealing, where provided, should not be treated as unlimited protection.
Avoid unnecessary lens changes in dusty or windy conditions. Keep lens caps accessible and carry an appropriate cleaning cloth for external surfaces.
Moving cold equipment into a warmer, humid environment can cause condensation. Canon recommends sealing the camera in an airtight bag before the temperature change and allowing it to warm gradually. Its snow-photography article explains this precaution.
Keep breathing away from a cold lens or viewfinder, where moisture may cause problems.
Practical tip: Prepare the protective bag in advance rather than looking for one after condensation appears. Follow your equipment’s manual if it becomes wet.
Avoid opening compartments or changing lenses until the equipment has adjusted appropriately.
9. Edit Honestly and Record the Context
Editing should help viewers see the photograph clearly without misrepresenting the scene.
Adjust white balance according to the light you encountered. Shaded ice may appear cooler than ice in direct sunlight, so forcing every part of the image to pure white can remove atmosphere.
Use contrast and sharpening carefully. Heavy editing can exaggerate texture, create halos around ice edges or make colours look artificial.
If documenting glacier change, keep the original files and record the date and location as accurately as possible. Two photographs taken from different positions or after different snowfalls do not establish a measured change on their own.
Avoid presenting a dramatic caption as scientific evidence.
Practical tip: For a travel gallery, select a small group of complementary images. One landscape, one detail and one contextual photograph can communicate more than many nearly identical frames.
Ask permission before publishing identifiable photographs of guides, porters or other climbers.
A Practical Starting-Settings Guide
Use these as examples to adapt, rather than mandatory settings.
| Situation | Starting approach | Check |
|---|---|---|
| Handheld glacier landscape | Moderate aperture and adequately fast shutter | Camera shake and depth of field |
| Bright ice filling the frame | Review exposure compensation | Highlight texture |
| Person within the landscape | Faster shutter when needed | Movement and focus |
| Distant ice detail | Longer focal length from a permitted position | Stability and contrast |
| High-contrast static scene | Small exposure bracket if practical | Time and camera movement |
| Quickly changing opportunity | Familiar automatic or semi-automatic mode | Exposure and focus |
Automatic modes can be useful. The goal is a dependable workflow, not using manual settings merely to appear professional.
Photography Must Fit Your Health and the Climb
At altitude, a photography stop is still part of a demanding expedition.
Keep communicating with the guiding team and avoid becoming separated while framing an image. Have essential clothing accessible, and do not ignore instructions because the light looks promising.
Report symptoms promptly. The CDC’s high-altitude guidance advises against further ascent with altitude illness symptoms. Confusion, difficulty walking or breathlessness at rest require urgent attention; worsening illness requires descent.
Do not assume that taking a photograph is worth remaining at a location when the guide says it is time to move.
A successful photographic journey includes bringing yourself and your equipment back safely.
Questions to Ask Before Booking
Discuss the following with your operator:
- Which glacier views may fit the proposed route?
- How are photography stops managed?
- Is the trip a standard trek or a specialist photography itinerary?
- Are any proposed activities subject to separate permissions?
- What camera weight and baggage arrangements apply?
- Will charging facilities be available?
- How does the schedule change if conditions deteriorate?
Be clear about your priorities, but keep expectations flexible. A mountain itinerary cannot guarantee visibility, light or a specific composition.
Frequently Asked Questions
Do I need an expensive camera?
No. A familiar camera or capable phone can make worthwhile images. Composition, exposure and practical handling matter more than price alone.
Can I walk onto a glacier for photographs?
Do not assume this is permitted or included. Follow the agreed itinerary and guide’s instructions; close access requires separate consideration.
Should I bring a tripod?
Only if its weight and use make sense for your plan. Many photographs can be made handheld with suitable settings.
Will I photograph the glaciers at sunrise?
Possibly, but it is not guaranteed. Your route, timing, progress and weather determine the view.
Should I use a polarising filter?
It is optional. Test it beforehand and watch for uneven sky darkening with wide-angle lenses. Avoid adding unfamiliar equipment that complicates a brief stop.
Can I use a drone?
Do not assume drone use is allowed. Confirm current park and aviation requirements and obtain any required permissions before travelling.
Plan Your Kilimanjaro Photography Trip With Eddy Tours & Safaris
Photographing Kilimanjaro’s glaciers works best when the camera plan supports the mountain plan. Choose manageable equipment, practise its controls and discuss realistic opportunities before departure.
To explore an itinerary, contact Eddy Tours & Safaris. Share your dates, trekking experience, photography interests and the equipment you intend to carry.
Website: eddytours-safaris.com
Email: eddytoursandsafaris@gmail.com
Sales enquiries: sales@eddytours-safaris.com
Phone and WhatsApp: +255 711 906 664