
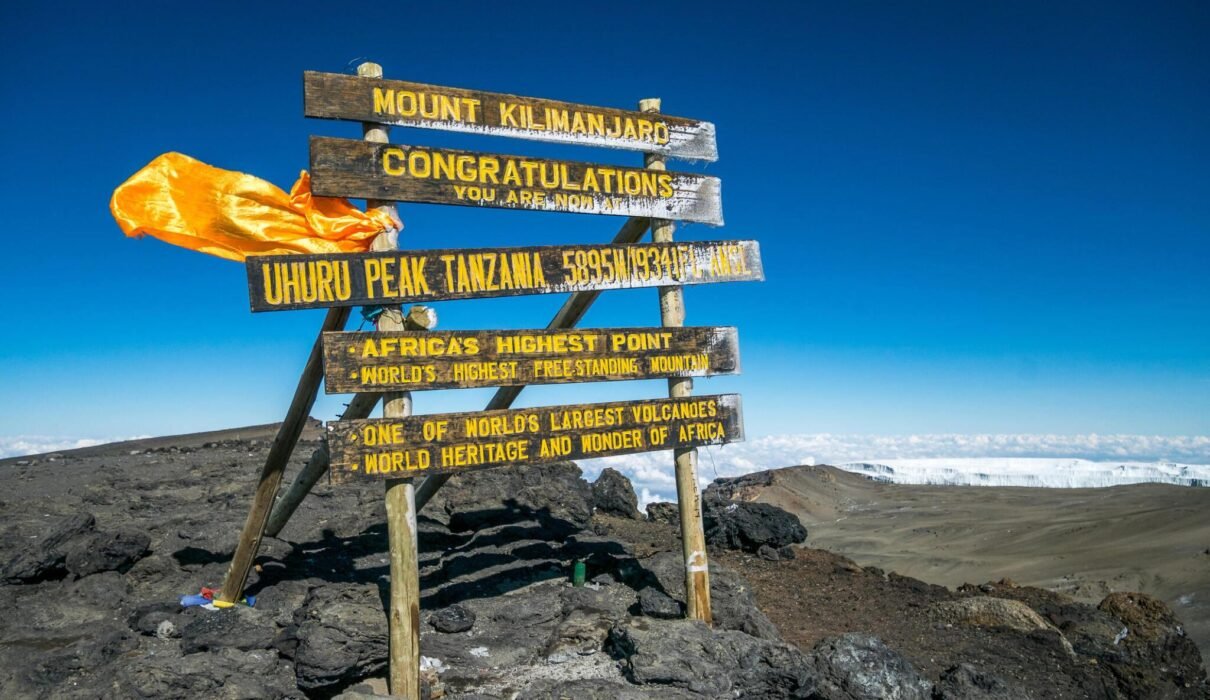
Climbing Mount Kilimanjaro is possible for many first-time high-altitude trekkers, but it is not something to treat casually. Africa’s highest mountain reaches 5,895 metres, and the main challenge is altitude rather than technical rock climbing. You do not need ropes or advanced mountaineering experience on the standard routes, yet you do need fitness, sensible preparation, good gear, enough acclimatisation time and a willingness to listen to experienced guides.
For a beginner, the most important decision is not choosing the shortest route or finding the lowest price. It is choosing a route and itinerary that give your body enough time to adapt. Kilimanjaro rewards steady pacing. People who start slowly, eat and drink consistently, sleep when they can and report symptoms early usually give themselves a better chance than people who rely only on gym fitness or determination.
This beginner’s roadmap explains how to prepare for a Kilimanjaro climb in 2027 or 2028. It covers route choice, training, equipment, altitude, summit night, safety and the questions to ask before you book. It is designed to help you arrive informed, not frightened. The mountain is demanding, but a clear plan makes the experience far more manageable.
Step 1: Understand what a Kilimanjaro climb really involves
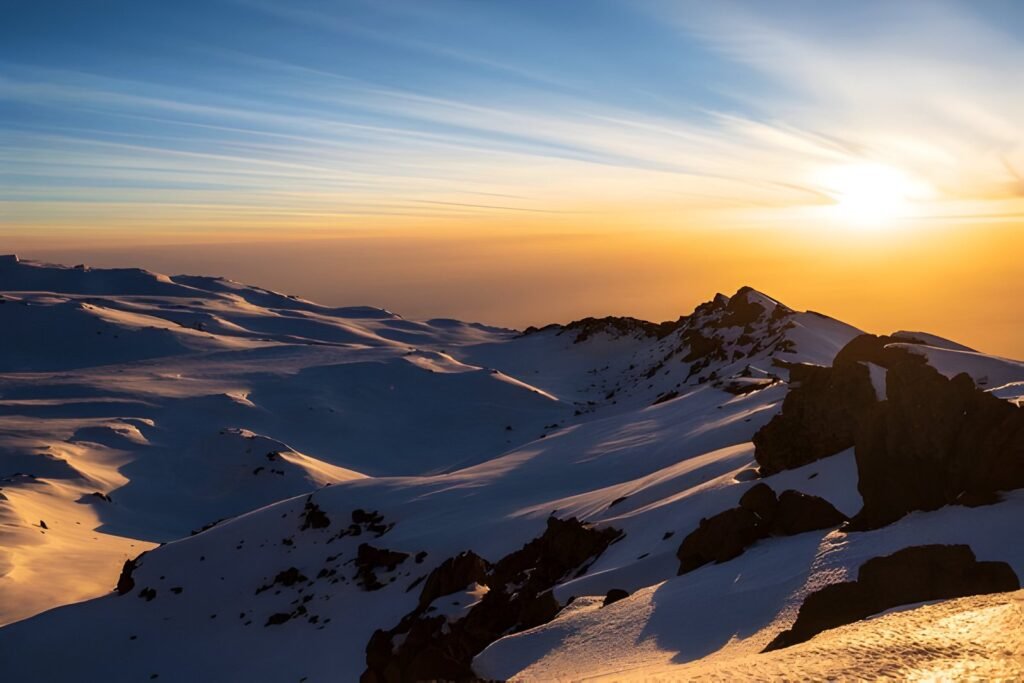
Kilimanjaro is a multi-day trek through several climate zones. You may begin in warm rainforest, pass through heath and moorland, walk across dry volcanic terrain and face freezing conditions near the summit. Each day includes several hours of walking, usually with a daypack. Your main duffel bag is carried by porters within an agreed weight allowance, while guides, cooks and support staff manage the camp or hut logistics.
The final summit attempt normally begins around midnight. Climbers walk slowly through darkness and cold toward Stella Point and then Uhuru Peak. This is the hardest part of the climb because you are tired, sleep-deprived and at very high altitude. Reaching the summit is a powerful goal, but it is never guaranteed. Weather, altitude and personal health can change the plan.
Do not think of Kilimanjaro as a simple “bucket-list hike.” Treat it as a serious trekking expedition with professional support. That mindset helps you choose a route wisely and prepare in the right way.
Step 2: Choose a beginner-friendly route with enough days
There is no route that removes altitude risk. However, some routes give beginners more time to acclimatise than others. Longer routes are often a better investment because the body needs time to respond to thinner air. Choosing an extra day is usually wiser than choosing the fastest possible itinerary simply to reduce cost or holiday time.
Lemosho Route: a strong choice for many beginners
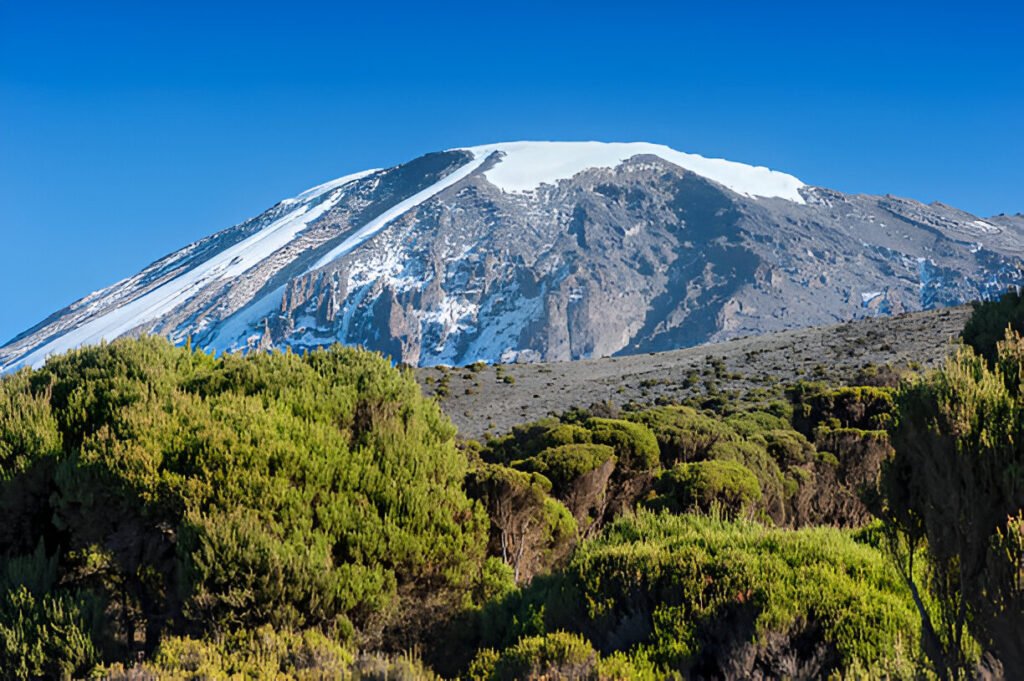
The Lemosho Route is often recommended for beginners who can allow seven or eight days on the mountain. It starts on Kilimanjaro’s western side, crosses the Shira Plateau and follows the southern circuit through Lava Tower, Barranco and Barafu. The scenery is excellent, and the longer version includes helpful acclimatisation opportunities. An 8-day Lemosho climb is especially sensible for a first high-altitude trek.
Machame Route: scenic but choose enough time
Machame is another popular route, often completed in six or seven days. It is beautiful and varied, but it can feel busy in peak season and has a demanding profile. A seven-day Machame itinerary is generally more beginner-friendly than a six-day version because it allows an extra acclimatisation stage.
Marangu Route: huts but not automatically easier
Marangu is known for hut accommodation instead of camping. Some beginners like the idea of sleeping in huts, but the route’s common shorter schedule can reduce acclimatisation time. Do not assume that beds make the mountain easy. Ask whether an extra day can be added and choose it if appropriate.
Northern Circuit: the longest and most gradual option
The Northern Circuit normally takes eight or nine days and circles quieter northern slopes after starting from the Lemosho side. It is one of the best options for acclimatisation but costs more because of additional park nights and crew support. If you have time and budget, it is a thoughtful choice for a beginner who wants a slower, more complete Kilimanjaro experience.
Step 3: Train for repeated walking days, not one perfect hike
Begin training several weeks or months before travel. The goal is not to become the fastest person in the group. The goal is to prepare your heart, lungs, legs, feet and mindset for several consecutive walking days. Start with regular brisk walks, then increase duration and add hills, stairs or incline treadmill sessions.
Long weekend hikes are particularly useful. They teach your body to walk for hours, test footwear and help you understand how to manage food and water. If you can train on hills, do so. If you live somewhere flat, use stair climbing, an inclined treadmill or a gym step machine. Strength exercises for legs, hips, core and balance will help on uneven trail and long descents.
Train with your daypack, boots and socks before you travel. Even a small pressure point can become painful after several days. Do not wear brand-new boots on Kilimanjaro. Break them in gradually, test them in wet conditions if possible and learn what sock combination keeps your feet comfortable.
Step 4: Learn the basics of altitude
Altitude is the reason Kilimanjaro is difficult. As elevation increases, the air has less available oxygen. Your body needs time to adjust, and fitness alone cannot guarantee that it will do so easily. A very fit person can develop altitude symptoms, while a slower walker may adapt well with the right itinerary and pacing.
Common mild symptoms may include headache, reduced appetite, disturbed sleep and tiredness. These should be reported to your guide and monitored. More serious symptoms—such as confusion, poor coordination, severe headache, serious shortness of breath at rest or sudden worsening—need immediate professional attention and may require descent.
The main rule is pole pole, meaning slowly in Swahili. Walk slower than you think you need to. Drink regularly, eat what you can, keep warm and speak honestly to the guides. Hiding symptoms because you want the summit is one of the worst decisions a climber can make. A safe descent is always more important than a summit photograph.
Step 5: Pack the right gear, not too much gear
Kilimanjaro needs a layering system. Bring moisture-wicking base layers, warm fleece or insulated mid-layers, a waterproof jacket and trousers, trekking trousers, gloves, warm hat, sun hat and sunglasses. Temperatures can change quickly; you may walk in a T-shirt in the sun and need an insulated jacket as soon as you stop at camp.
Summit night requires your warmest equipment: insulated jacket, warm layers, waterproof outer shell, thick socks, insulated gloves or mitts, warm hat and a headlamp with spare batteries. A reliable sleeping bag suited to cold mountain nights is essential on camping routes. Trekking poles are very helpful, particularly for the long descent.
In your daypack, carry water, snacks, rain gear, gloves, sunglasses, sunscreen, camera, personal medication and a warm layer. Keep your passport, travel insurance information and medication in your hand luggage while flying to Tanzania. Rental gear may be available, but confirm the quality, size and availability before you rely on it.
Step 6: Know what guides, porters and cooks do
A Kilimanjaro climb is supported by a mountain crew. The lead guide sets the pace, manages route decisions, conducts health checks and makes safety calls. Assistant guides support the group, especially if climbers walk at different speeds. The cook prepares mountain meals, while porters carry shared equipment, food, tents and main duffel bags within approved limits.
Your responsibility is to carry your daily essentials, follow the guide’s instructions and communicate clearly. Respect the crew’s work. Keep your duffel organised, do not exceed the agreed weight allowance and ask about fair tipping guidance before the climb. A good crew plays a huge role in the experience, but clear communication from the climber matters too.
Choose a company that treats its staff fairly and has clear safety procedures. The cheapest offer is not always the best value if it means poor equipment, overloaded porters, rushed itineraries or missing park fees. A detailed quotation and direct answers are more useful than a low headline price.
Step 7: Prepare for summit night mentally
Summit night is the part most beginners worry about, and that is reasonable. You wake around midnight after limited sleep, step into cold darkness and begin moving slowly uphill. The trail can be steep and loose underfoot. Your breathing is slower because of altitude, and you may feel tired long before sunrise.
The best mental approach is to break the climb into small pieces. Do not think constantly about the full distance to Uhuru Peak. Focus on the next few steps, the next water break or the next landmark. Let the guide set the pace. Eat small snacks when you can and keep your hands and feet warm. Most climbers reach the summit through steady persistence, not speed.
It is also acceptable to stop. If your guide tells you that descent is safer, listen. The decision can be disappointing, but it protects your health. Kilimanjaro will still be there; your body deserves more importance than a single summit attempt.
Step 8: Plan your arrival, hotel nights and recovery
Arrive in Tanzania with enough time for a gear check and mountain briefing. One hotel night before the climb is the minimum sensible plan; two nights can be more comfortable after a long international journey. Your operator should confirm whether transfers are from Kilimanjaro Airport, Arusha or Moshi and whether hotel accommodation is included in the package.
After the descent, plan at least one night in Moshi or Arusha. Your legs may be sore, your feet tired and your sleep schedule disrupted. A hot shower, a proper meal and a quiet night make a big difference. Do not schedule an international flight for the same evening unless you have no alternative and the timing is very secure.
Many climbers add a Tanzania safari after recovering. Tarangire, Ngorongoro and Serengeti are excellent choices, but do not try to start a long road safari directly from summit day. Allow the mountain experience to finish properly, then move into the next part of your holiday.
Best time to climb Kilimanjaro in 2027/2028
January to early March and June to October are commonly popular because the weather is generally drier. January and February can be warmer at lower elevations, while June to October may bring colder summit conditions and more busy dates. Kilimanjaro weather is never fully predictable, so rain protection and warm layers are needed in every month.
April, May and November are usually wetter. Forest trails can be muddy, views may be cloudier and conditions may feel more demanding. They can also be quieter. If you choose a wetter month, make sure your waterproof gear is reliable and accept that the mountain may not look like the dry-season images you have seen online.
Food, water and daily energy on the mountain
At altitude, some climbers lose appetite even though they need energy more than ever. Try to eat regular meals and snacks rather than waiting until you feel hungry. Mountain cooks usually prepare simple, filling foods such as porridge, eggs, soup, rice, pasta, potatoes, vegetables and fruit. Tell the operator about vegetarian, vegan, halal, allergy or other dietary requirements before booking so the crew can plan properly.
Drink water steadily through the day. Your guide will advise on hydration, but a hydration bladder or water bottles that are easy to access make this much simpler. In cold conditions, protect drinking tubes from freezing and keep bottles inside your jacket or insulated cover when needed. Do not depend entirely on thirst; many people feel less thirsty at altitude.
Bring familiar snacks if they help you eat when tired: energy bars, sweets, nuts or electrolyte tablets. Avoid packing many heavy items that you never use. Small, useful snacks and regular meals are better than a large bag of random food.
Common beginner mistakes to avoid
- Choosing the shortest route only because it is cheaper or saves holiday days.
- Starting the first days too fast instead of following the guide’s pace.
- Wearing untested boots, carrying a poorly fitted daypack or relying on new equipment.
- Not drinking enough water because the weather is cold.
- Hiding headache, nausea, exhaustion or other symptoms from the guide.
- Ignoring sleep and recovery before the climb after a long international flight.
- Booking an immediate flight home after the descent without a recovery night.
Most of these mistakes are easy to avoid when you prepare early. The goal is not to make the climb complicated. It is to remove predictable problems so you can focus on walking, adapting and enjoying the mountain.
What if weather changes or you need to descend?
Mountain weather can change quickly. Rain, wind, cold and cloud may alter the feel of a route even in a dry-season month. Your guide may adjust the pace, add layers, shorten a stop or change a practical detail of the day. Be flexible and trust the team’s experience; safety comes before sticking exactly to a printed schedule.
If you need to descend, the guide and crew will arrange support according to the situation and park procedures. This is one reason travel insurance with suitable high-altitude and evacuation cover is important. Discuss the emergency process before booking and keep insurer details accessible. A strong operator plans for the possibility of descent rather than treating it as something that will never happen.
Questions beginners should ask before booking
- Which route and how many mountain days are included?
- How does the itinerary support acclimatisation?
- What park fees, camping or hut fees, meals and transfers are included?
- What safety equipment and health checks are used on the mountain?
- What is the porter-carried duffel weight limit?
- Which gear can be rented, and what condition is it in?
- What hotel nights are included before and after the climb?
- What happens if I need to descend early?
Frequently asked questions
Can a complete beginner climb Kilimanjaro?
Yes, a fit beginner with proper training, enough route days and professional support can climb Kilimanjaro. You do not need technical climbing experience, but you must take altitude and preparation seriously.
What is the best route for a beginner?
An 8-day Lemosho Route or a longer Northern Circuit itinerary is often a strong choice because of the additional acclimatisation time. The best route still depends on your dates, budget and fitness.
How fit do I need to be?
You should be able to walk for several hours on consecutive days, manage hills and carry a daypack. You do not need to be an elite athlete, but regular training is important.
Plan your Kilimanjaro climb for 2027/2028
For route-by-route information and professional planning support, visit Kilimanjaro Climb Specialist. You can also combine your climb with a Tanzania wildlife trip through Eddy Tours & Safaris, with time to recover before travelling to the parks.
To request a Kilimanjaro plan, use the contact page, email eddytoursandsafaris@gmail.com or sales@eddytours-safaris.com, or call and WhatsApp +255 711 906 664. Include your preferred dates, group size, hiking experience, route preference and any safari extension you would like.